It’s been over a year since Assassin’s Creed Shadows plunged players into feudal Japan, but one thing remains unchanged: players still need a solid plan to take down the hulking Bessho Harumasa, better known as The Ox. This isn’t some shadowy schemer who hides behind layers of underlings – well, actually he does, but once you peel back those layers, you’ll find a mountain of muscle wielding a kanobo that can turn Naoe into a pancake. Fear not, fellow assassin-tourist. This guide will walk you through every sub-quest, boss fight, and sneaky trick needed to cross this target off your hit list with minimal bruises.
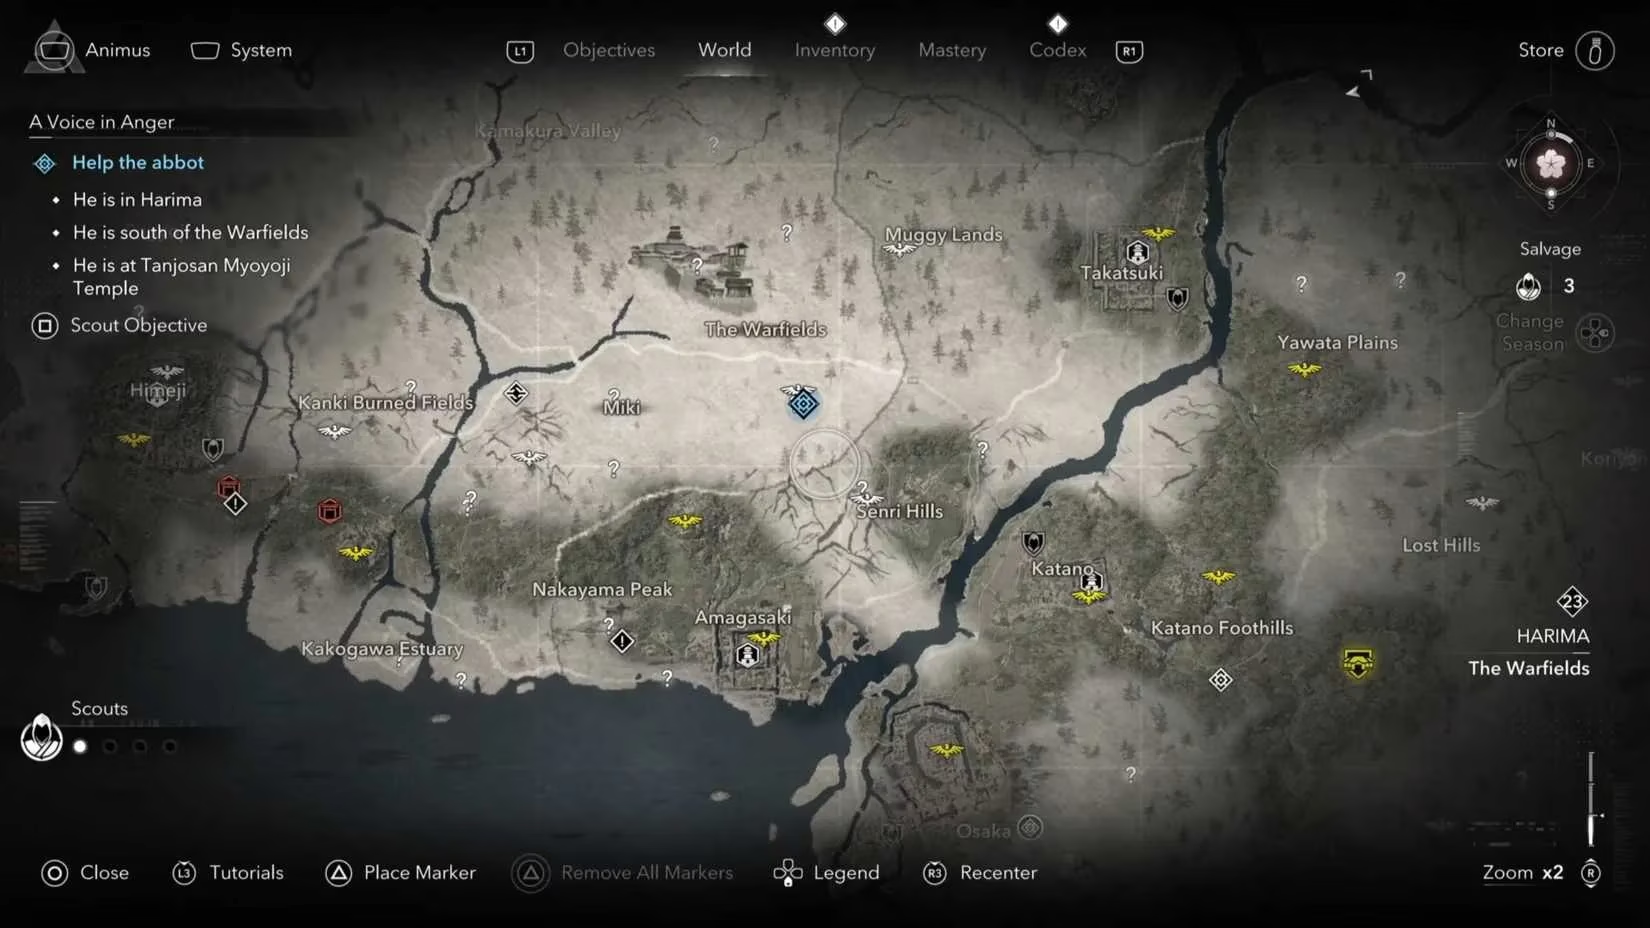
Before diving headfirst into a fortress, any sensible player knows that preparation beats brute force. The Ox’s story kicks off with A Voice In Anger, where the Abbot of Tanjosan Myoyoji Temple needs rescuing. Use your scouts to pinpoint the location – or just eyeball the image above if you’re the impatient type. Yasuke is the recommended choice here because subtlety goes out the window when a dozen guards are crowding around a bonfire. Just beeline to the tall wooden ladder near the gate; if anyone reaches the warning bell at the top, you’ll be stuck with a region-wide wanted level that makes a Sunday stroll feel like a manhunt. Once the enemies are neutralized, a cutscene reveals The Ox’s real name and his right-hand man, The Tsuno. Then, free Nakamura Tadashige from another bonfire (these guys love pyrotechnics), and you’ll wrap up the first step.
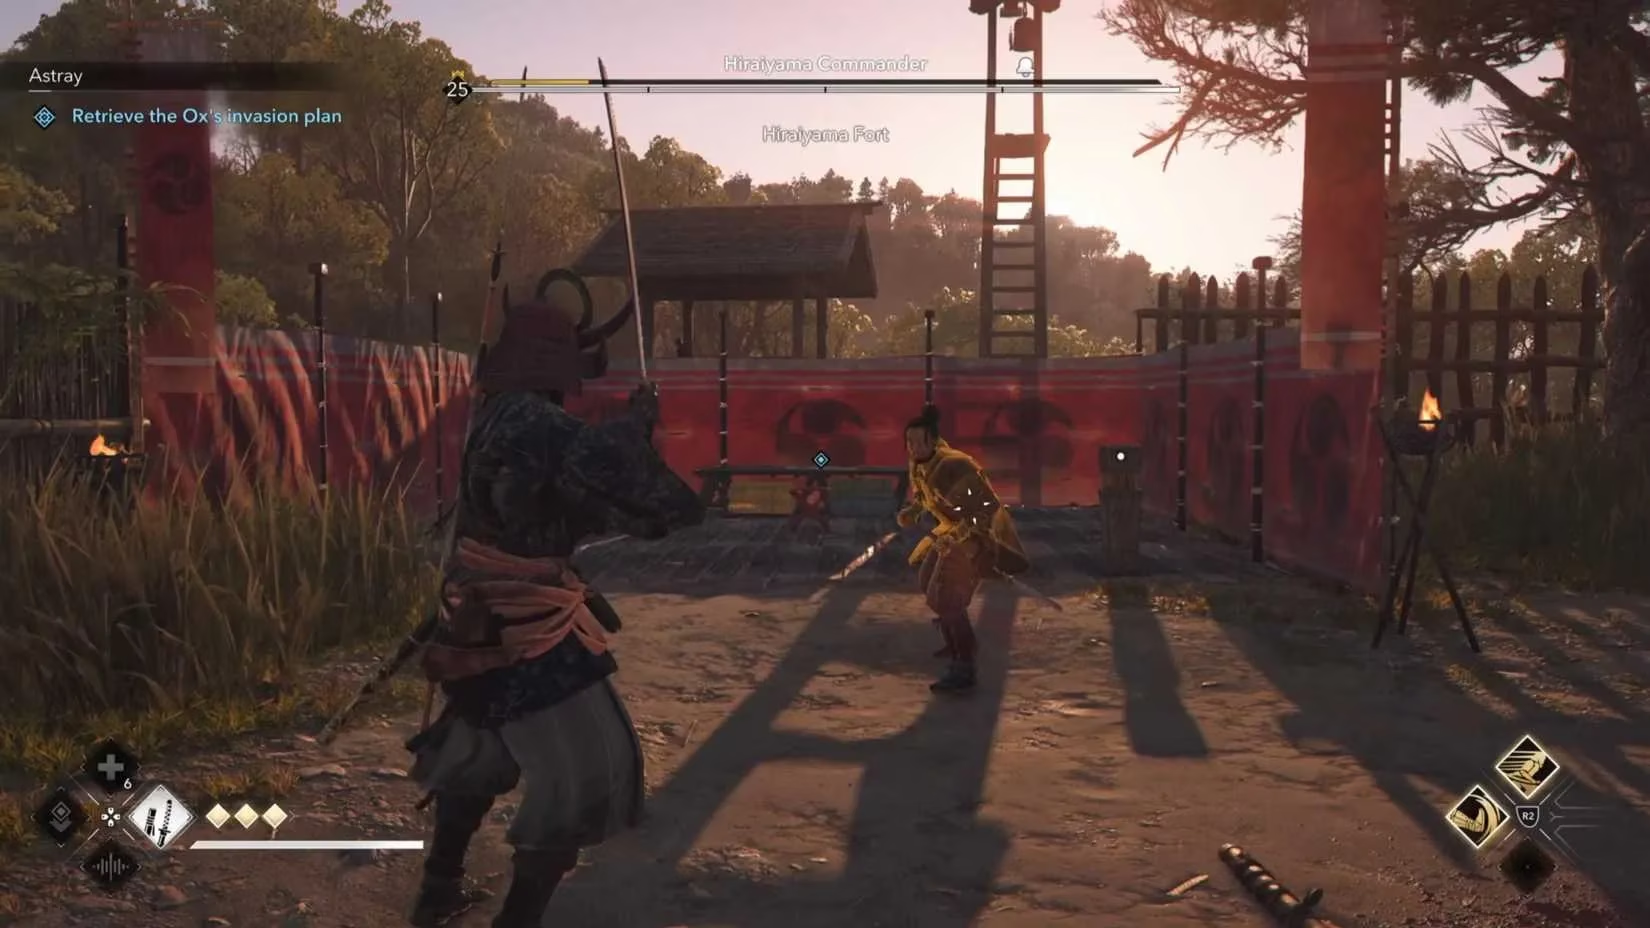
Next up is Astray, which feels like a fortress marathon wrapped in a scavenger hunt. The goal: steal The Ox’s invasion plans from Hiraiyama Fort. The layout is linear but packed with breakable gates, loot huts, and a predictable boss at the top. A clever player will detour northwest after smashing the second gate to find a ration refill and loot crates – because the commander fight at the summit isn’t exactly a pushover, even if his moveset is as basic as a katana swing. Once he’s done, grab the plans, endure a cutscene with a fresh-faced recruit, and then loot the big chest behind you. Afterward, report back to Tadashige in a safe zone, and you’ve completed the military intel portion.
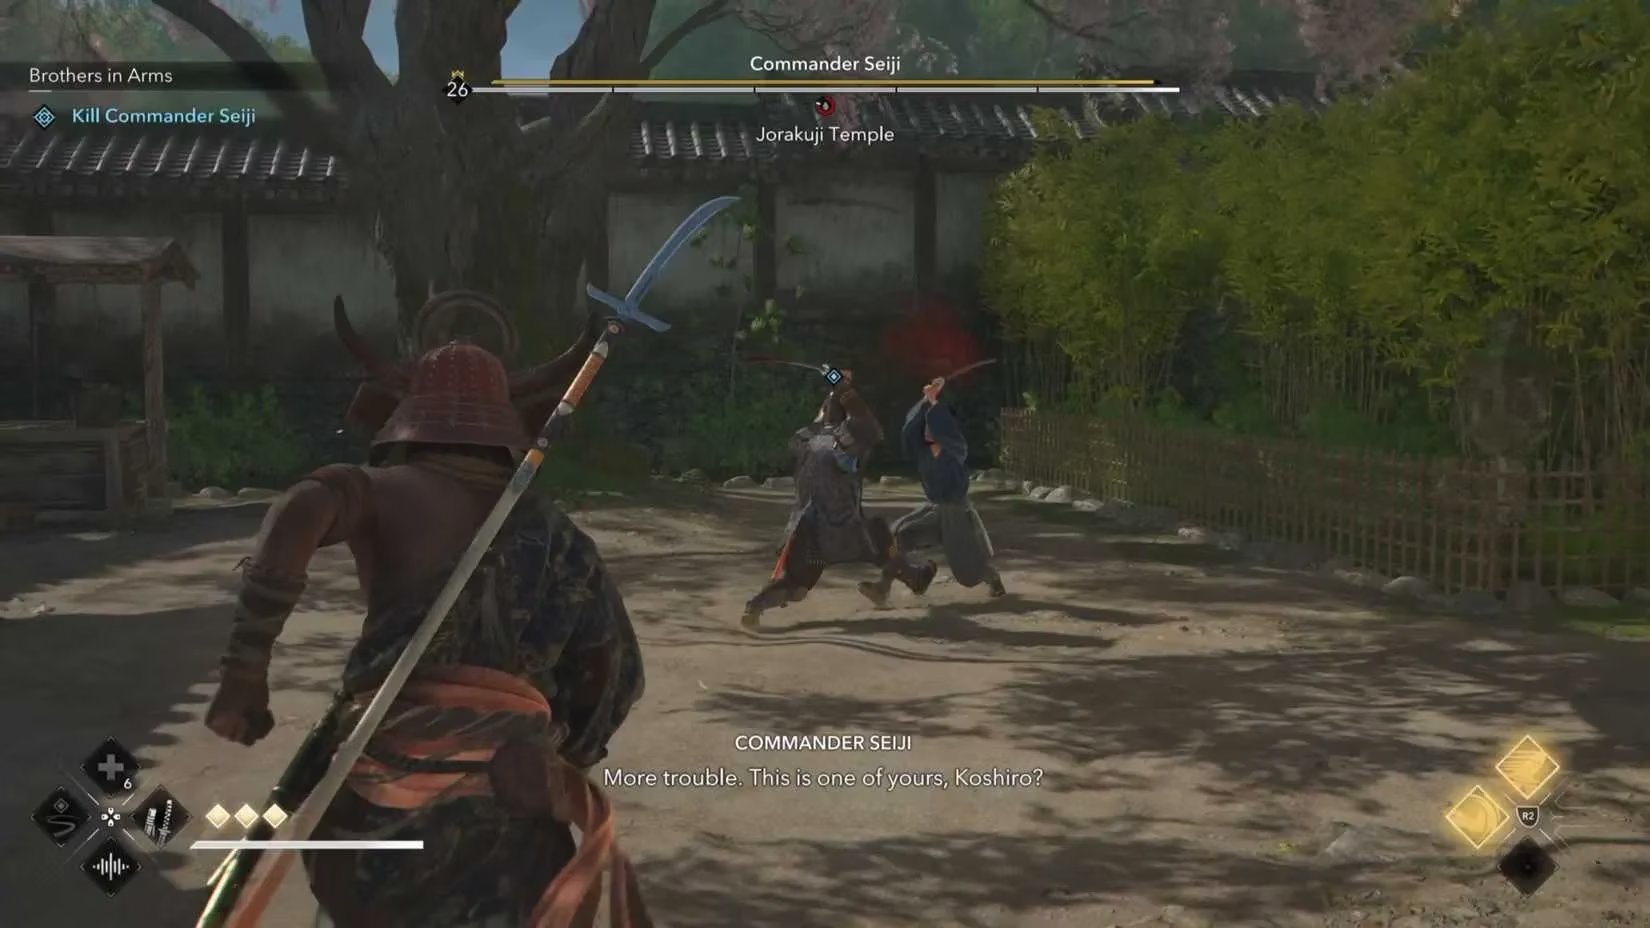
Brothers In Arms introduces a ronin named Koshiro who’s busy getting smacked around by former pals. Help him out, and you’ll be pointed toward Seiji, a turncoat hiding in Kanki Castle. The good news: Koshiro jumps into the boss fight alongside you, turning it into a two-on-one beatdown that’s almost too easy. Afterward, you get a moral choice – kill or spare Seiji – with zero consequences, so choose based on your mood. This segment is refreshingly straightforward compared to the fort sieges.
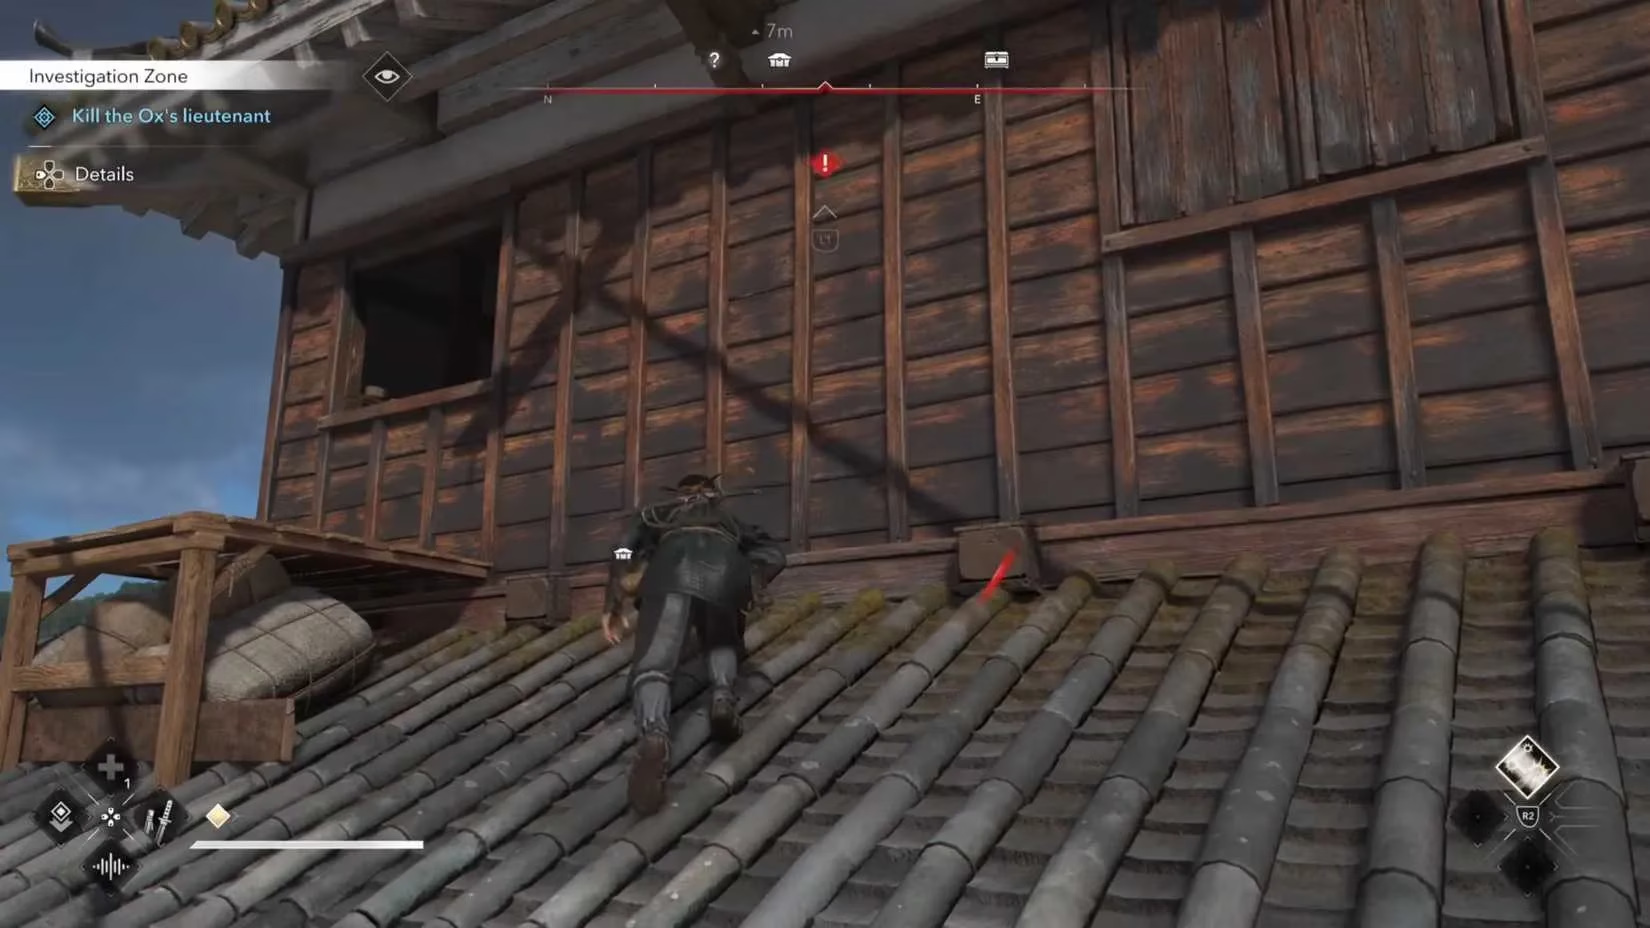
Then comes Of My Enemy, which swaps castles for a gigantic ship bobbing in the ocean. First, find Hiromichi’s informant near Mount Tatsu (fast travel there, but brace for a hostile quarry spawn). After a brief chat, you’ll be directed to a lieutenant aboard a vessel so massive it could double as a floating fortress. Naoe’s climbing skills shine here – scale the wooden slats, peek over the deck, and either stealthily pick off guards or go loud. The lieutenant himself is unremarkable, but the real challenge is the cramped room and the endlessly respawning goons climbing the stairs. The savvy strategy: burst down the lieutenant immediately, loot the shipping manifest and the large chest, then swim back to safety. No need to clear the entire ship unless you’re after extra experience.
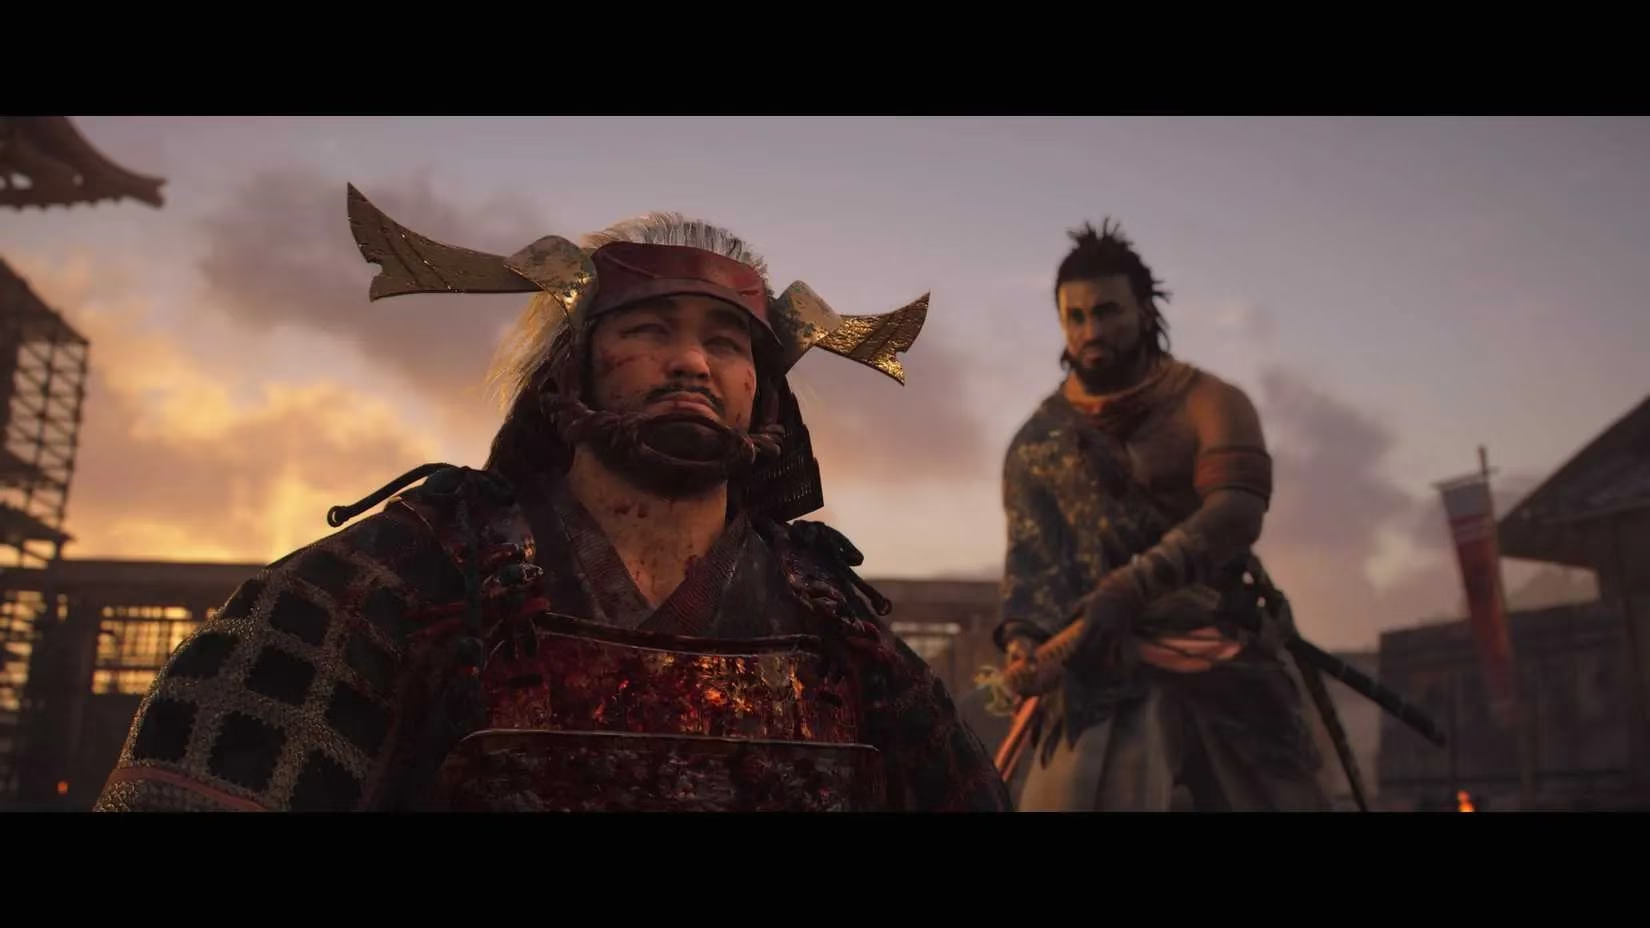
Finally, Broken Horn brings the whole saga to a head in Miki Castle. After telling Tadashige you’re ready, you’ll face two consecutive boss encounters. First is The Tsuno, who looks intimidating with his fancy katana but falls to the same parry-red-dodge-blue pattern that’s become muscle memory by now. The Ox himself enters the arena next, swinging a kanobo capable of flattening buildings. Stay defensive, exploit invincibility frames on your special abilities, and whittle down his health bar. The arena offers no reprieve, but by this point, any seasoned player will have a toolkit of smoke bombs, kunai, and pure stubbornness.
With The Ox defeated, one more Shinbakufu name is crossed off. The whole chain might seem long, but each step builds up to a satisfying payoff – plus, you’ll emerge with a healthy stockpile of resources and a newfound appreciation for how many bonfires feudal warlords maintained. Whether you’re a ghost-like Naoe purist or a bulldozing Yasuke enthusiast, this mission arc rewards patience and adaptability. Now, go celebrate by upgrading your hideout with all that loot. The next target awaits.